
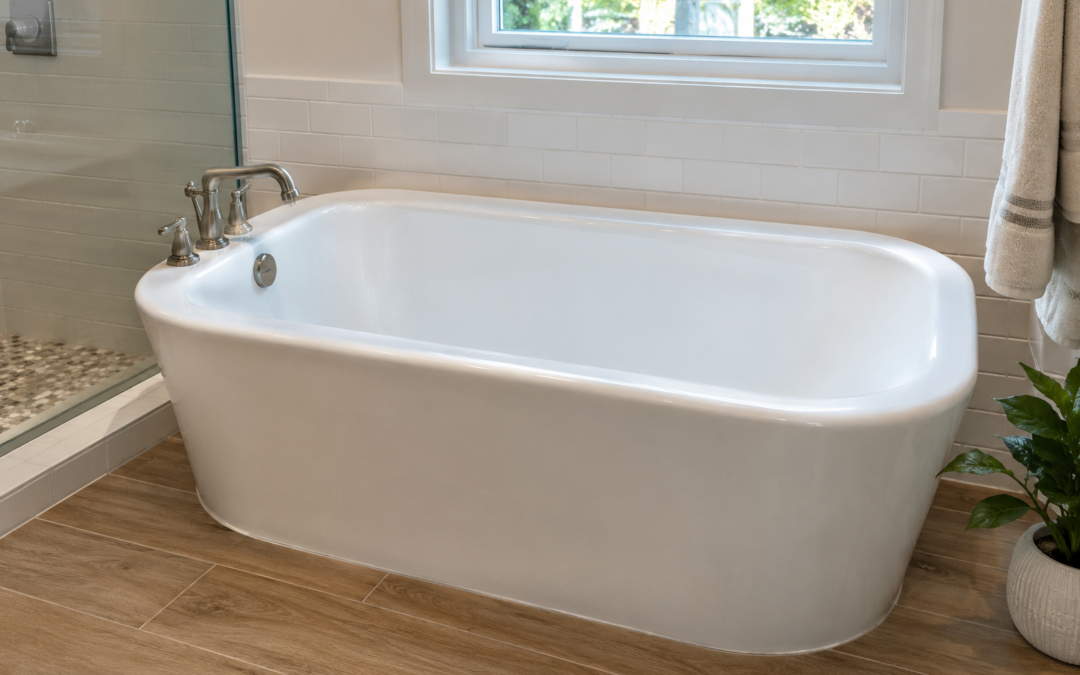
A technician kneels beside a stained cast iron tub in an Escondido bathroom, running a gloved hand along a chip near the drain before opening the first can of prep solution. Two hours from now, that same tub will be curing under a protective sheet, and the family will already be asking how soon they can use it again.
Most homeowners have never watched a refinishing appointment happen, so the process can feel like a mystery right up until the technician arrives. Here is what actually happens, start to finish.
What Actually Happens During A Refinishing Appointment
The short version covers four phases: protecting the room, repairing and preparing the surface, applying the resin, and letting it cure. Each phase has its own timeline and its own reason for existing, and skipping or rushing any one of them is usually where a lesser bathtub refinishing job starts to fail early.
Before The Appointment: What We Need From The Bathroom
We ask homeowners to clear personal items from the tub, shower, or countertop surface before we arrive, along with any rugs or mats nearby. Good ventilation matters too, so we confirm a window can open or a fan can run during the appointment.
Beyond that, there is little to prepare. We bring the equipment, the resin, and everything needed to mask off the surrounding room, since protecting the rest of the bathroom is part of the job, not something homeowners need to handle themselves.
What A Household Can Expect To Hear And Smell
A refinishing appointment is not silent. Between the etching step and the resin application, there is a chemical smell that is noticeable but manageable with proper ventilation running, and it fades noticeably within the first day. We would rather set that expectation upfront than have a homeowner surprised by it partway through.
Masking The Room And Protecting What Is Not Being Refinished
The first thirty minutes or so go entirely to masking. Walls, fixtures, flooring, cabinetry, anything near the work area gets covered before a single tool touches the tub or shower.
This step gets skipped or rushed by less careful crews, and it shows later in overspray on baseboards or fixtures. We treat masking as its own phase of the job rather than a quick step before the real work starts, since the finish only looks clean if everything around it stayed protected.
Ventilation And Odor Control During This Stage
We set up ventilation equipment at this point too, running fans that pull air out of the bathroom for the duration of the appointment. This keeps the workspace manageable and cuts down on lingering odor well before the resin stage even begins, and it stays running through the rest of the visit.
Repairing Damage And Etching The Surface
Once the room is protected, we address any chips, cracks, or rust spots directly on the surface. This is not cosmetic filler. Repairs need to bond with the etched surface the same way the new finish will, or they show through later as a soft spot or discoloration.
After repairs cure enough to move forward, we etch the entire surface with a chemical solution that opens the pores of the existing finish. Etching is what allows the new resin to bond directly to the old surface instead of sitting on top of it, which is part of why a proper refinish holds up over years of normal use instead of peeling within months.
The etching step also removes any remaining soap film or mineral buildup that cleaning alone never fully clears. A surface that looks clean to the eye often still carries a film that would keep new resin from bonding evenly without this step.
Why Repairs Happen Before Etching, Not After
Etching a damaged area before it is repaired would only open up the crack or chip further. We always sequence repairs first, then etch the full surface as one continuous step, so the repaired section and the original surface bond to the new resin at the same rate.
Applying The Acrylic Poly-Urethane Resin
This is the stage most homeowners picture when they think about refinishing, and it is usually the fastest part of the appointment. Our proprietary acrylic poly-urethane resin goes on in controlled coats, built up to a consistent thickness across the entire surface.
Color gets matched or changed at this stage if a homeowner requested something different from the original, and most homeowners pick from our color options during the initial consultation rather than deciding on appointment day. The resin self-levels as it goes on, which is part of what gives a refinished surface its smooth, glossy result instead of visible brush marks or uneven texture.
Why Coat Thickness Matters More Than Speed
A technician applies the resin in measured passes rather than one heavy coat, since a rushed application tends to run or pool in corners and around the drain. Even thickness across the whole surface is what determines how the finish holds up over years of normal use, not how quickly the coats go on.
Corners, the area around the drain, and any spot near a previous repair get extra attention during this stage. Those are the places a finish tends to wear first if the resin was applied unevenly, so we slow down specifically where it matters most rather than treating the whole surface at one uniform pace.
The Walkthrough Before We Leave
Once the resin is on and the room is unmasked, we walk the surface with the homeowner before packing up. This is the point where color, finish, and any repaired areas get a final look while a technician is still on site to address a question directly.
We leave written care instructions rather than relying on a homeowner to remember everything discussed during the walkthrough. Between the verbal explanation and the written notes, most households know exactly what to expect for the rest of the day without needing to call us back to ask.
The walkthrough is also when we point out anything worth knowing long term, a color match on a repaired chip, a spot that needed extra attention during prep, so nothing about the finished surface comes as a surprise weeks later.
Cure Time And What An Escondido Household Can Expect
Once the resin is applied, the surface needs time to cure before it can handle water or weight. We walk every homeowner through the exact cure window before we leave, along with simple care instructions for the first few days.
What The First 48 Hours Look Like
The surface can typically handle light water contact sooner than it can handle standing water or a full bath. We ask homeowners to avoid placing bath mats, shampoo bottles, or anything else directly on the surface during that early window, since anything sitting on top of curing resin can leave an impression behind.
Ventilation matters during this stretch as much as it did during the appointment itself. Keeping a fan running or a window cracked for the first day helps the surface finish curing evenly and clears any remaining odor faster than a closed, still bathroom would.
Our one-day turnaround means the appointment itself, prep through resin application, happens in a single visit rather than stretching across a week of contractor trips. For an Escondido household with one bathroom, that timeline is often the difference between a manageable inconvenience and a real disruption to daily routines.
Homeowners curious about maintenance after the surface cures can see our notes on refinished bathtub maintenance, and anyone weighing timeline against other projects can compare against how long refinishing takes in a different market. Every finish we apply is backed by the same warranty regardless of which surface or city the appointment happens in.
Contact 24hour Bath to schedule an appointment and see what the process looks like in your own bathroom.